Beautiful work, Andrew! I absolutely love the great quality red lacquer finish - really gives the chairs a nice, neat POP! Your work is inspiring, as always.


 Senior Member
Beautiful work, Andrew! I absolutely love the great quality red lacquer finish - really gives the chairs a nice, neat POP! Your work is inspiring, as always.
══════════════════════════════════
Michael Tyler
http://www.carvebuddy.com
https://www.facebook.com/carvebuddy/
- ShopBot Buddy PRSAlpha BT48 CNC
- CarveWright CNC
- Vectric Aspire, VCarve Pro, ArtCAM Pro, CorelDRAW
 Senior Member
Thanks - here is some more detail, I took some rendering snaps to clear anything up.Originally Posted by James M

First, the seat. I cut the seat carve with a 5/8" diameter two flute solid carbide ball end mill (Onsrud). Since I bought my machine in 2012, it has been my go to bit for carving furniture parts. I some day plan to buy a 3/4" ball end mill, since I can take up to a 3/4" shank tool in my spindle. These larger solid carbide bits arent cheap but they run great and the edge lasts a long time. I have cut a lot of parts with the same bit.
I cut the outline with a 1/2" end mill, which of course leaves the inside corners at a 1/4" radius (more about this in a bit).
If I am going to round the edges of the seat, Ill do that after with a hand held router, and finish up the shaping with a rasp or sander(s)

Senior Member
For the legs.. here is how I do it:
Front legs - I laminate a panel of solid wood up, dressed to 1 3/4" thick. The legs are cut looking from the side - and I can pocket an undercut for the top (forming the first shoulder of the "tenon") and also pocket a groove for the foot rest (3/4"). Once the outline is cut, forming the front and rear tapers, it also forms the other two shoulders of the top tenon. These of course will have a 1/4" radius, while the pocketed shoulder will have a square inside corner.
To fit the front legs (which I leave just a bit tight) I take a hand router and a 1/4" radius quarter round bit, and radius the front and rear edges of the underside of the cut in. Then, I use a shoulder plane to fit the front leg for a nice tight fit (not too tight though) and the radius on the leg top shoulders sit up tight against the seat, since I have rounded these over.
Oh yes, I forgot one thing. The vertical edges of the leg tenon must be rounded over. I do this to approx. a 1/4" radius quickly, with a #7 rasp and some experience eye balling the radius. Now the leg will fit tight and I epoxy it into the seat, while the foot rail is also glued in.
Looks like a weak joint, but it is very strong. The front legs are not handed. Left and right are the same.
To form the taper on the leg front profile, I set up a jig and cut it on my table saw. I could 3D it on the router but that would IMO be too slow. Saw is fast and takes minutes to do a set of legs.

Senior Member
rear legs.. watch it now because there are left and right sides/handed.
Same idea. Pocket the face for one side of the seat to rear leg joint. Other side is formed with the cut out, as are the side tapers.
The front to back tapers I cut on the band saw and sand on the edge sander. I sometimes taper both faces, sometimes the inside face and other times the outside face.
Tapering the faces differently gives the chair a different look. Makes the rear legs looked splayed out further, or less, and the top of the leg where the back rest attaches is also tapered various ways depending on the design of the chair. All starting with the same blank though.
I also rout the underside and top of the seat rear leg notch - but just the edge corresponding to the pocket that has left a radiused top and bottom edge. And, I rasp the leg inside corner to fit into the leg notch which is also left rounded by the 1/2" bit.
Sounds like a bit of work, but it goes quickly.

Senior Member
Ill find a few photos of chairs I did previous to show the joint...
Here we go.. front leg joint in a walnut chair that had a more rounded, shaped look.
rear leg

Senior Member
Senior Member
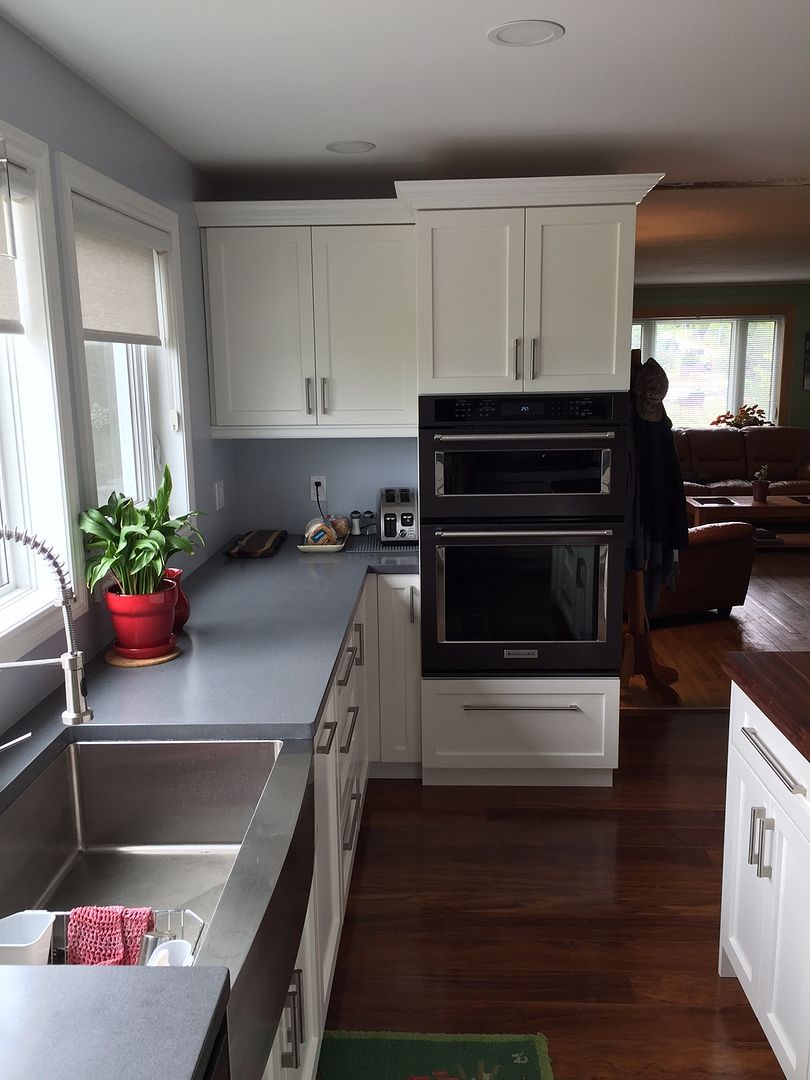
The red is unique.. lol. This is the kitchen they are going in: we just finished it in August. Three at the island and one at the desk section.
Senior Member
Wow Andrew, you and your crew do amazing work.
 Senior Member
Hiding all that beautiful wood and joinery seems a shame though.
Great job Andrew!!
scott
scott P.
2013 Desktop/spindle/VCP 11.5**
Maine
Senior Member
Andrew,
Those chairs will be a beautiful addition to that kitchen.
Also, thanks for sharing the details of how you made them on the shopbot.
J
 Posting Permissions

 Reply With Quote


